
By Bella Ratmelia, Senior Librarian, Research & Data Services
Audio transcription is a critical step in qualitative research, particularly when analysing recorded interviews or focus group sessions. While third-party transcription services are readily available, researchers must often choose local transcription solutions to maintain IRB compliance and protect participant confidentiality.
SMU libraries provide data terminals with Whisper models pre-installed and ready to use. At the moment, Whisper is available on Data Software 01 terminal which you can book here with your SMU credentials.
To run the transcription, all you have to do is the follow these steps below. (This instruction is meant for Windows users).
Step 1: Place your audio files in the Documents folder
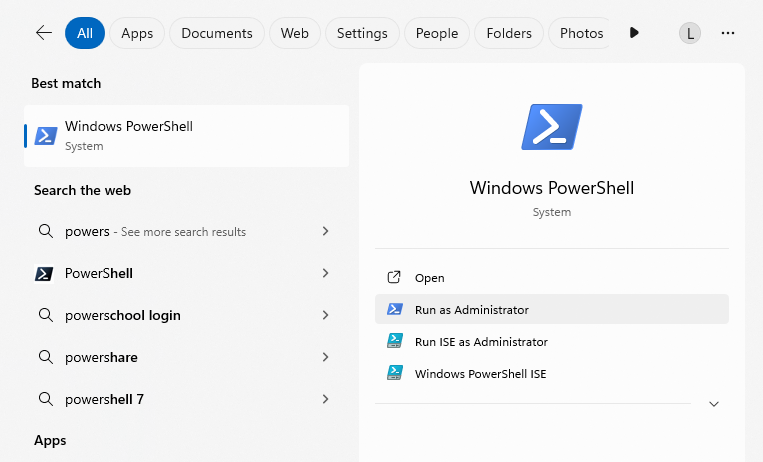
Step 2: Open Windows Powershell
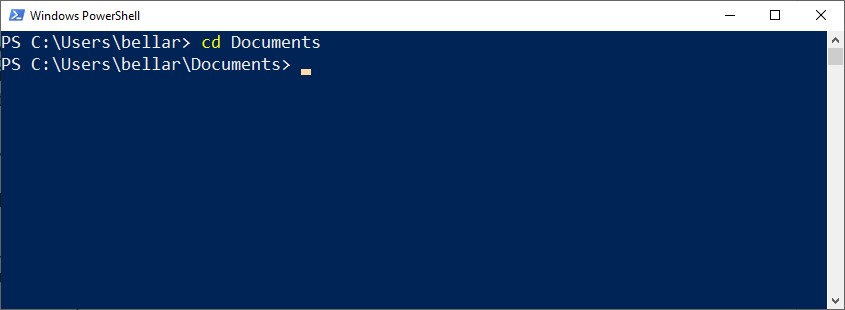
Step 3: Type the following command to navigate to Documents folder, and then press enter to run the command:
cd Documents
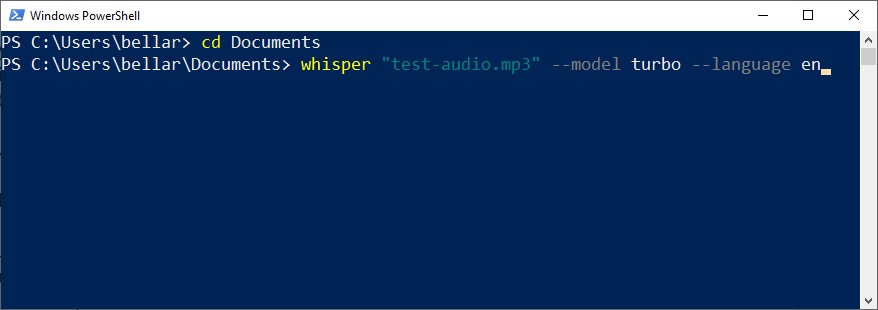
Step 4: Once inside you're inside Documents folder, we can start the transcription process using Whisper's Turbo model, which is their fastest multilingual speech-to-text transcription model. Type this command and then press enter to run the command. Be sure to change the "test-audio.mp3" portion below with your own file name. Change the language accordingly as well if your audio is not in English.
whisper "test-audio.mp3" --model turbo --language en
Step 5: Once completed, you will get the transcription file in various format. They will be saved in the same directory as your input audio file.
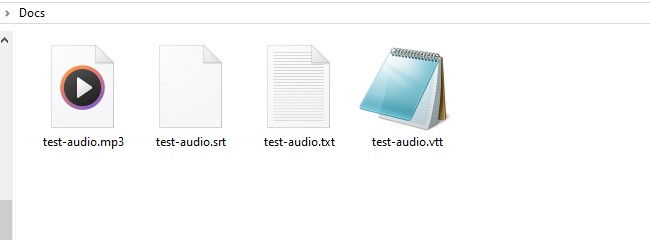
The output formats that you will see are:
- TXT format: Raw transcription text without any timing information - useful when you only need the spoken content for text analysis, keyword extraction, or content review without caring about when things were said.
- SRT format: Transcription with numbered segments and precise timestamps - essential when you need to sync the text back to specific moments in the audio/video or create traditional subtitles.
- VTT format: Similar to SRT, but web-optimized with timestamps and enhanced metadata support.
Choose the output format that best suits your need.
Step 6: Don't forget to delete the files from the Data Software terminal once you've copied over the transcription result.
Remember, for optimal results:
- Test the process with a test audio file. Try the process with short audio file that's about 30 seconds or thereabouts.
- Use the Turbo model for the best balance of speed and accuracy
- Force language to 'English' when transcribing English audio for improved accuracy. It should still work with Singlish!
- Expect processing time: Approximately 3 minutes to transcribe a 2-minute audio file
The transcription quality is typically decent especially if you use Turbo model, though you may need to review and edit the output for better accuracy, particularly with technical terminology or multiple speakers.
Once installed, this local setup provides a secure, IRB-compliant solution for transcribing sensitive research audio while maintaining complete control over your data throughout the process, no sending audio 3rd party!
Alternatively, if you prefer to do this in your own machine, you can follow this installation steps outlined by Alena Gorb in Medium.
As usual, please feel free to reach out to us at library@smu.edu.sg if you have any questions.
Happy transcribing!