
By Bella Ratmelia, Librarian, Data Services
It is a well-known fact in the world of academia that it is necessary to promote yourself and your project, especially if you are a young researcher looking for more collaborators or a postgraduate student looking to expand your network. One of the ways to promote yourself (other than having a researcher account on multiple research communities such as ResearchGate, Academia.edu, ORCID, etc.) is through having a personal website.
Why Should I Create a Personal Site?
With so many social networks out there, one may wonder if having another online profile is necessary. But a personal website could serve as a one-stop point to consolidate and let people know about all of the online profiles that you have. It is also a place where you can put your professional contact details so that future research collaborators can easily find you. Having a personal website also means that you will have an online space that is truly yours, regardless of your affiliations.
There are many free and paid tools out there that could take care of the site creation and hosting for you, but if you don’t mind doing a little bit of technical work (e.g. using Markdown markup language), GitHub Pages could be a feasible (and most importantly, free) option for you.
What is GitHub Pages?
According to GitHub, GitHub Pages is “a static site hosting service that takes HTML, CSS, and JavaScript files straight from a repository on GitHub, optionally runs the files through a build process, and publishes a website”. This essentially means that GitHub can provide you with a free web hosting service, provided that your website only contains HTML, CSS or Javascript files (and other files common to websites such as font files or media files).
These benefits have not been overlooked by the academic community and many Phds and researchers have chosen to use GitHub pages to create their own professionally designed homepages using standard templates optimised for researchers.
Now, how do you create one in GitHub Pages? There are three ways to do this:
Method 1: Using HTML pages (that you create yourself)
For this method, you will need to create the HTML pages on your own first. You can use the freely available HTML templates and modify them as you see fit. Once the HTML pages are ready, follow these steps:
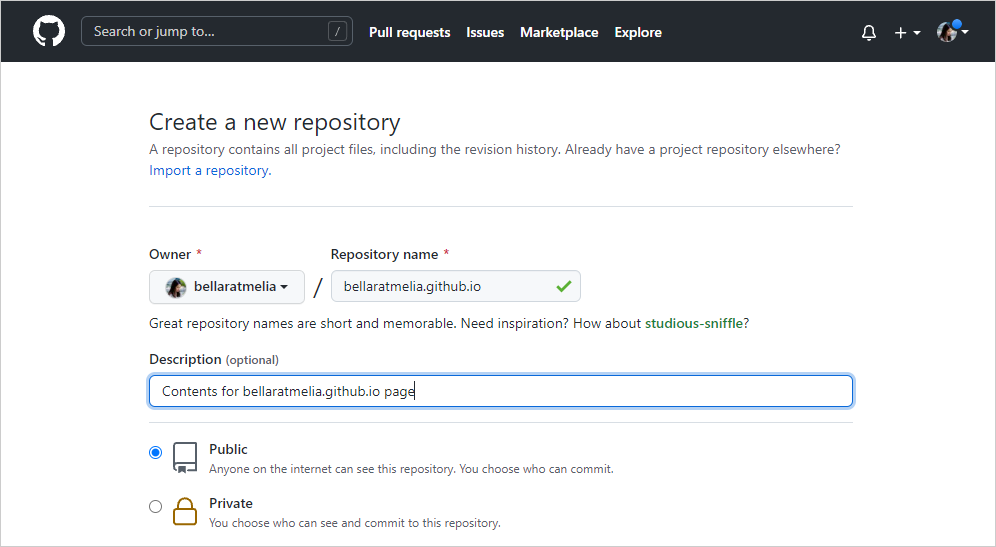
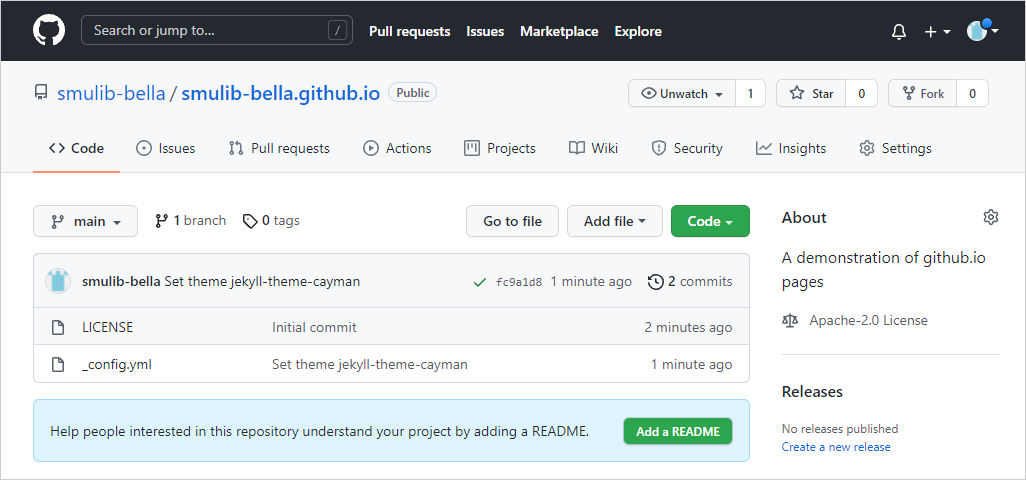
- Create a new repository in this format: yourname.github.io as seen below (for this example, I’m going to use bellaratmelia.github.io). Insert the appropriate description, choose the license (optional, but good to have), and set the repository as public.
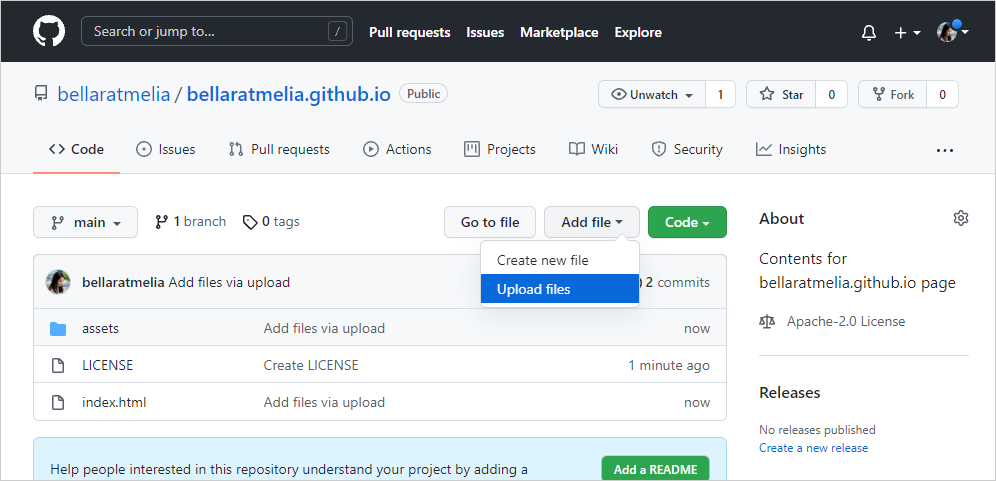
- Upload your HTML + CSS files for your site to the main branch of the repository. Your files will have to be structured like a typical website, e.g. having the main homepage file located in the root folder and named as index.html. Commit these files, and they should appear in the main branch.
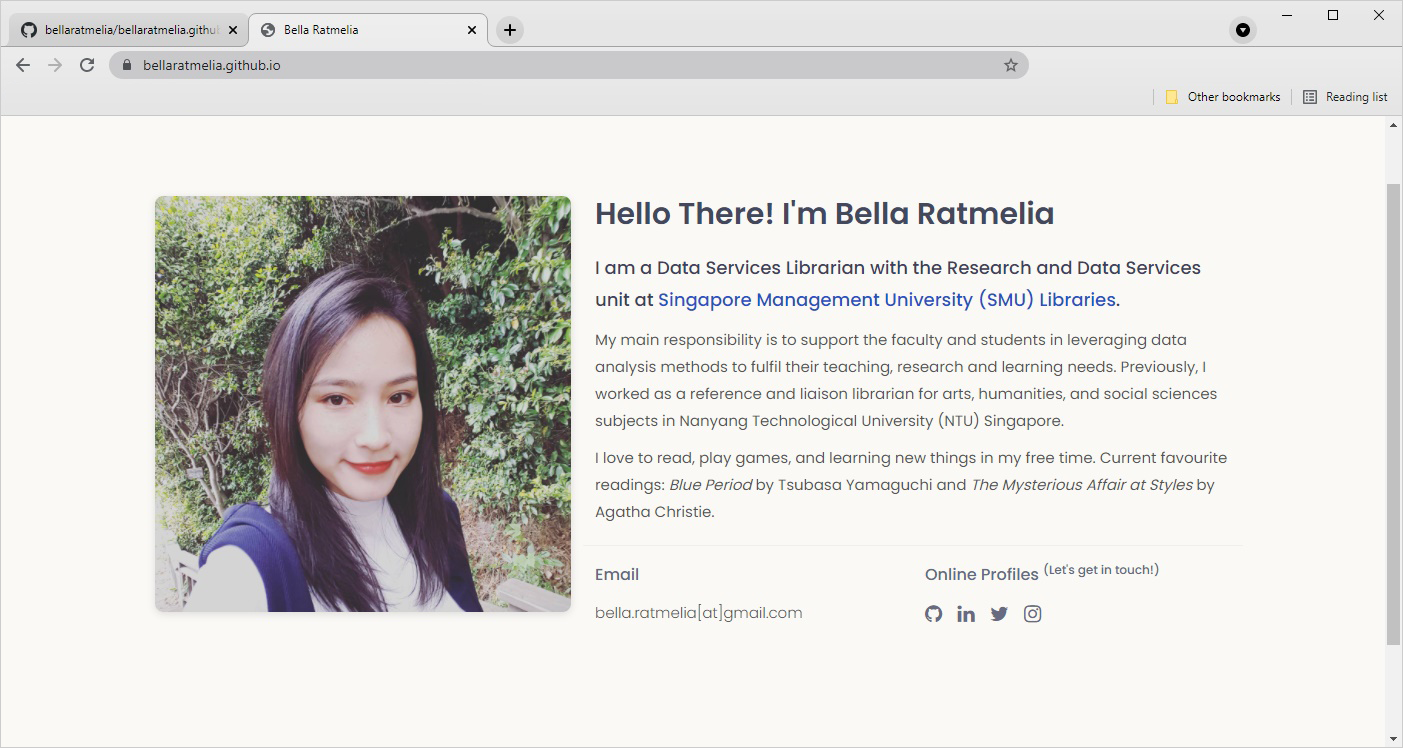
- Once all the files are uploaded, go to your github.io address, and you should be able to view your site immediately!
Method 2: Using Jekyll (a static site generator)
If you are not too familiar with HTML or don’t mind too much about the aesthetics of your site, you can use Jekyll to generate your website pages from any of the themes provided by GitHub. This method allows you to focus more on the content of your pages.
The pages generated will be formatted in Markdown language that’s very easy to pick up even for beginners with no coding experience. To set this up, you can follow these steps:
- Similar to the previous method, create a new repository in this format: yourname.github.io. Insert the appropriate description and choose the license (optional, but good to have). Don’t forget to set the repository as public.
- In the repository page, go to Settings → Pages. Under Source, set the branch to main and the folder to root folder.
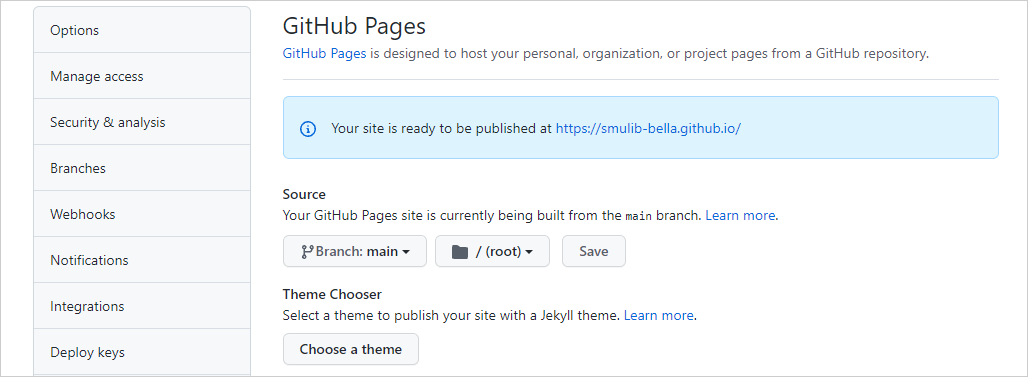
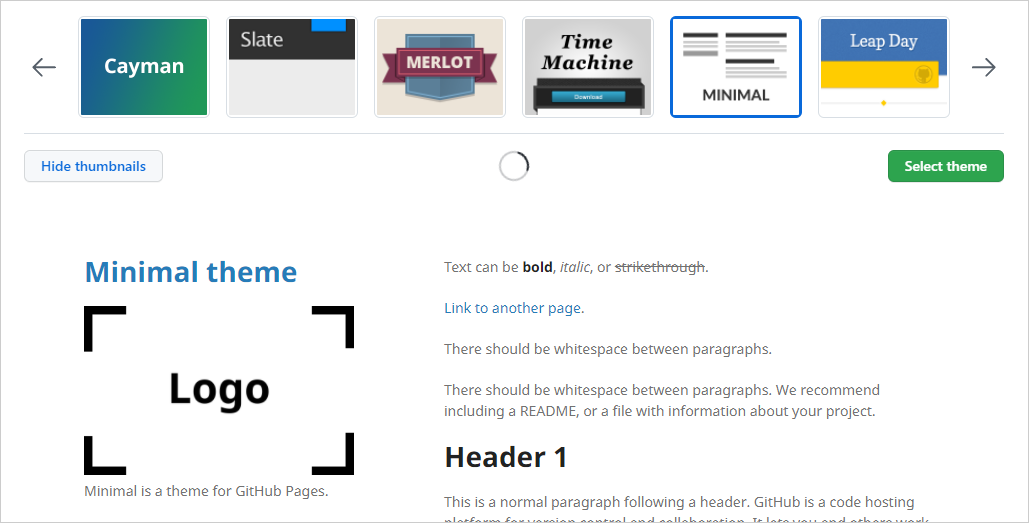
- Next, click on “Choose a theme”. This will bring you to a page where you can select some of the available themes. Select your preferred theme.
- The repository page should tell you that the theme has been selected.
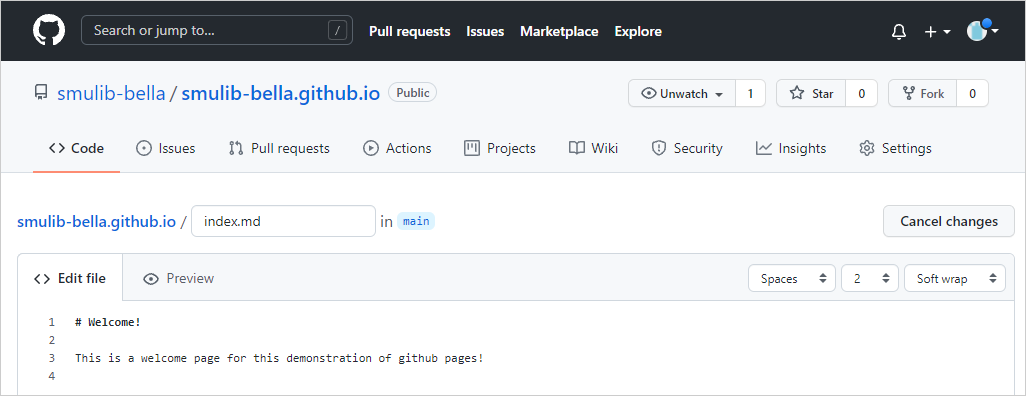
- Next, if it’s not yet created already, create a page called index.md that will serve as your homepage. As mentioned earlier, this page should be formatted in Markdown language.
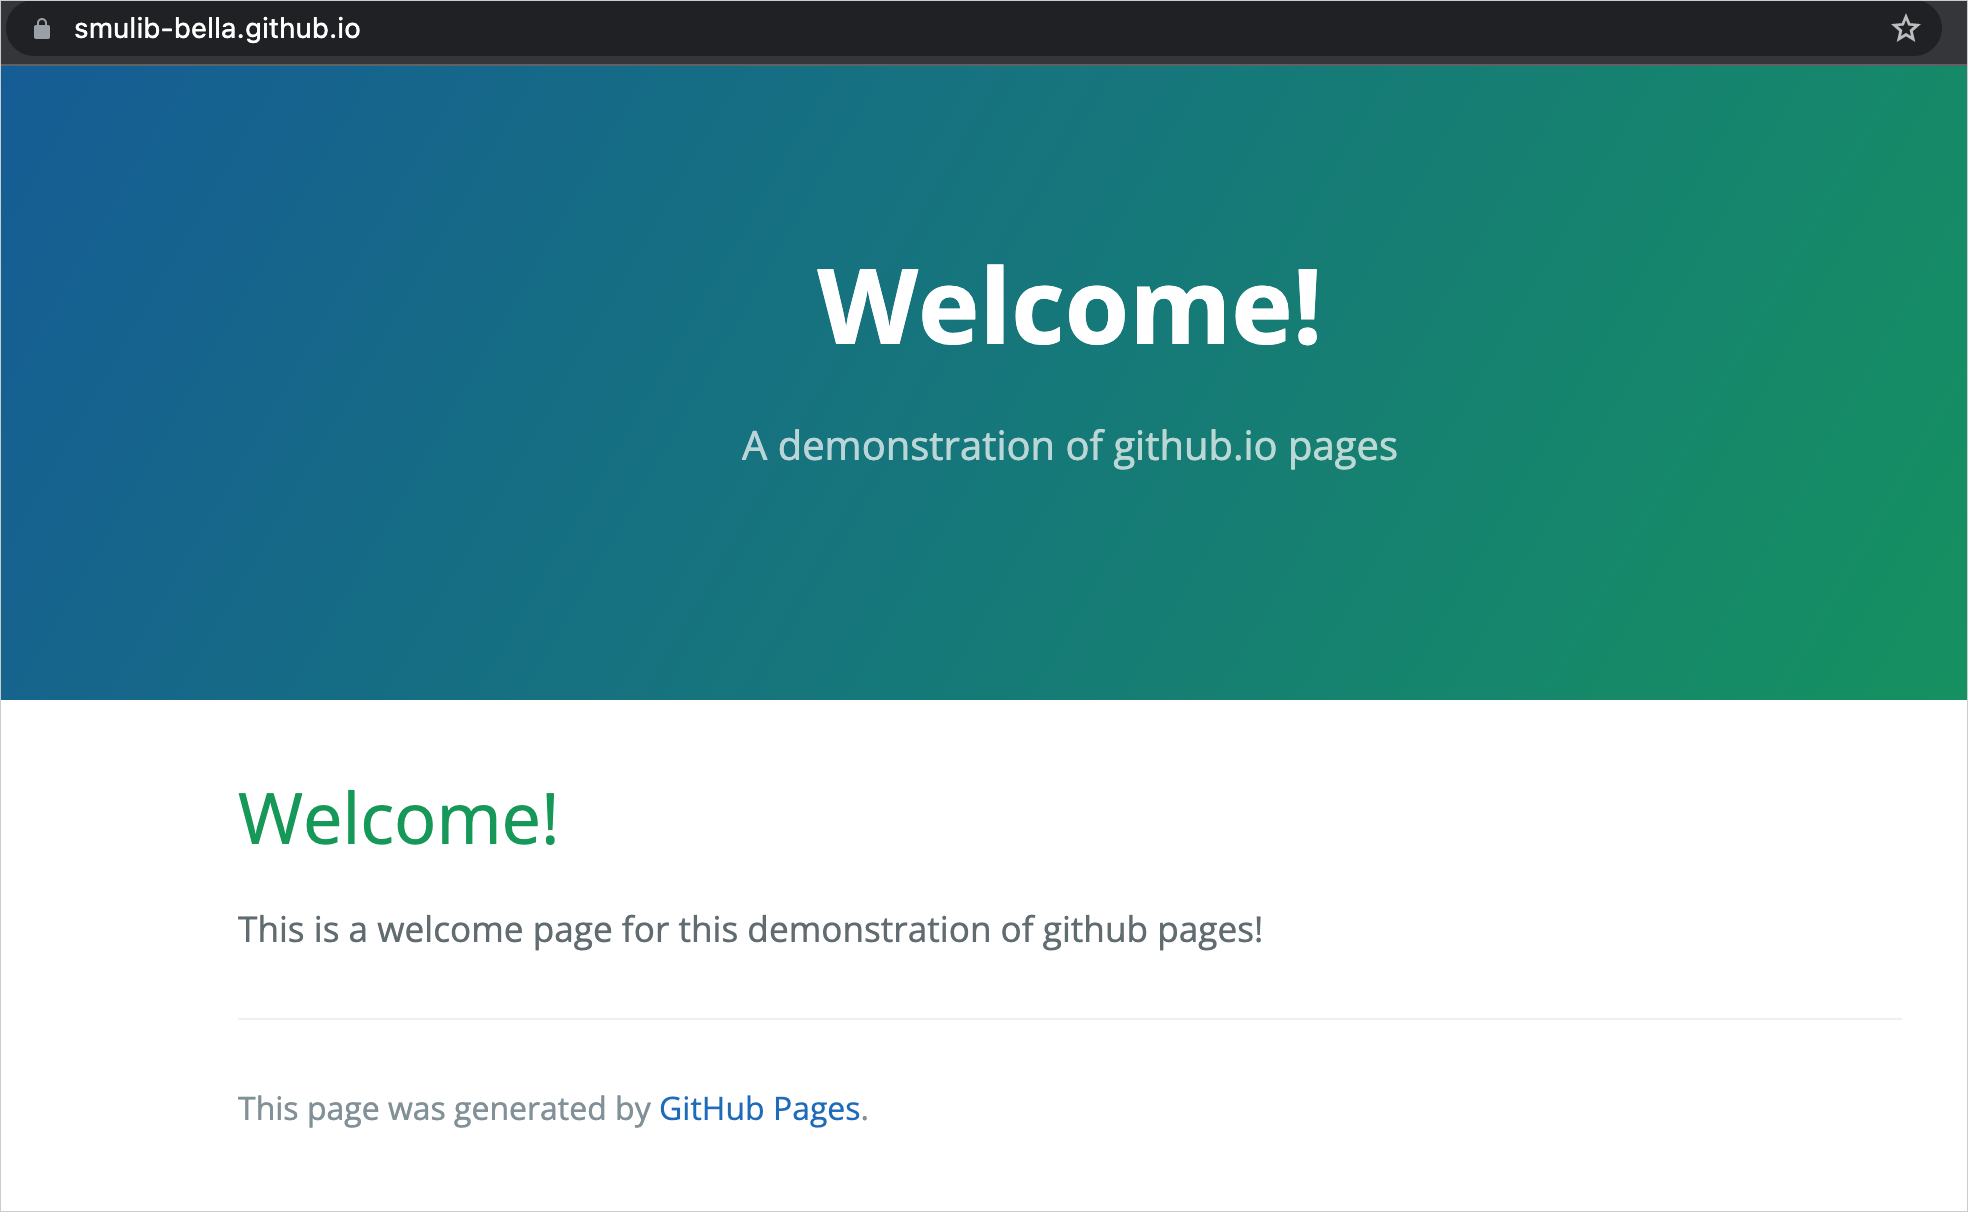
- Once you’ve populated the index.md page, go to your GitHub.io address and you should see the page styled with the theme you’ve chosen earlier. Now your site is ready!
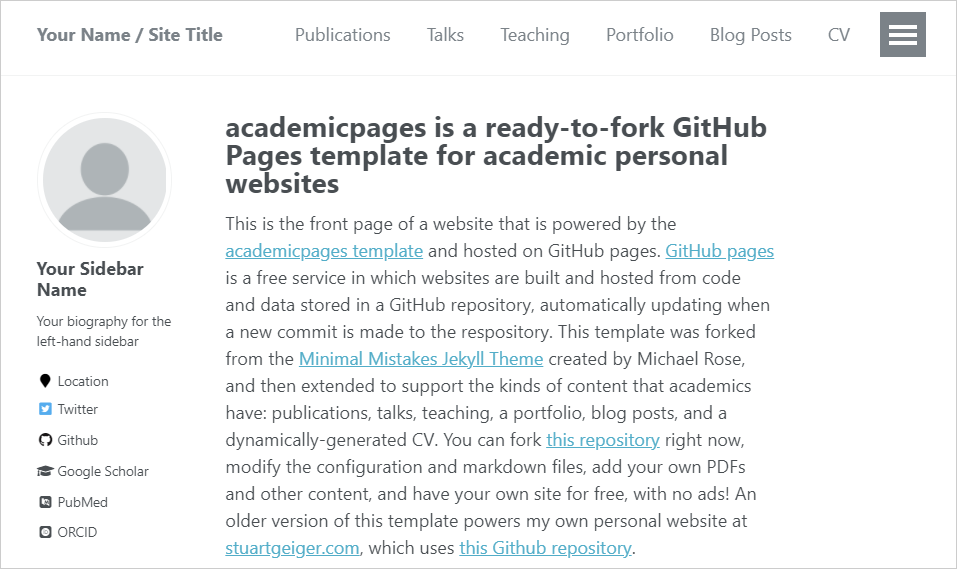
Method 3: Using academicpages, a GitHub Pages template for academic personal websites
Academicpages is essentially a jekyll-based template that you can use on your github.io site. As the name suggest, it comes with pages that can support contents in academia such as publications, talks, teaching, and a dynamically-generated CV. You can have a look at the preview of the template here: https://academicpages.github.io/
However, there's a different set of steps to use this particular template (different from the steps in method 2 above) which is outlined in the "Getting Started" section in the template homepage. As it is not part of the default template provided by GitHub, the setup and configuration take a bit more effort compared to the other two methods, but the template homepage is doing a good job describing what you need to do.
Check out some examples the finished websites here!
- Haoxin Tu (PhD Candidate, DUT & SMU)
- James Arambam (Research Scientist, NUS)
- Yongluan Zhou (Professor of Computer Science, University of Copenhagen)
Creating a Site for Your Project
Aside from creating your own personal site, you can also create a static site for each of your repositories! This is particularly handy if you’d like to create an extensive documentation or a more elaborate description about your project/repository. To set up the site, simply follow the steps below:
- In your project repository, click on Settings → Pages
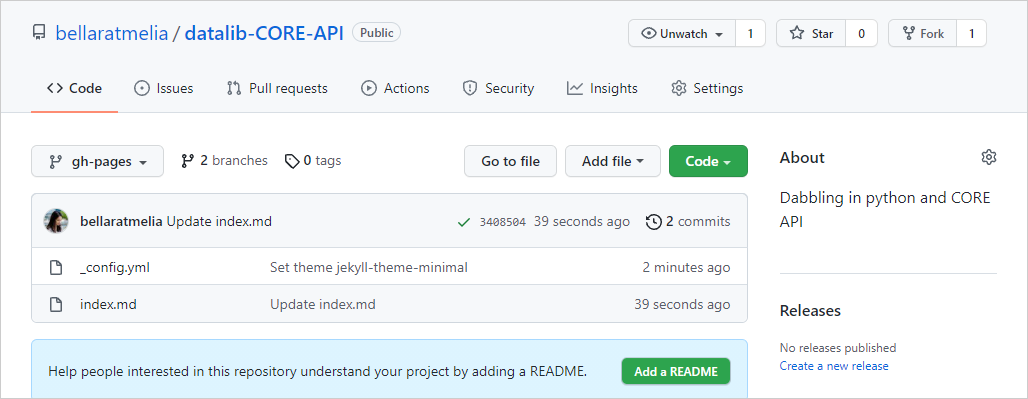
- Because we’re creating a page of an already existing repository, GitHub Pages will have to create a new branch called gh-pages. This is where the files for the site will reside. Under “Source”, select gh-pages.

- You can then select a Jekyll theme to start generating the pages, or upload your own HTML file to the gh-pages branch. In the below example, I choose to use Jekyll to generate the static pages and create an index.md page. Commit these files to save them.
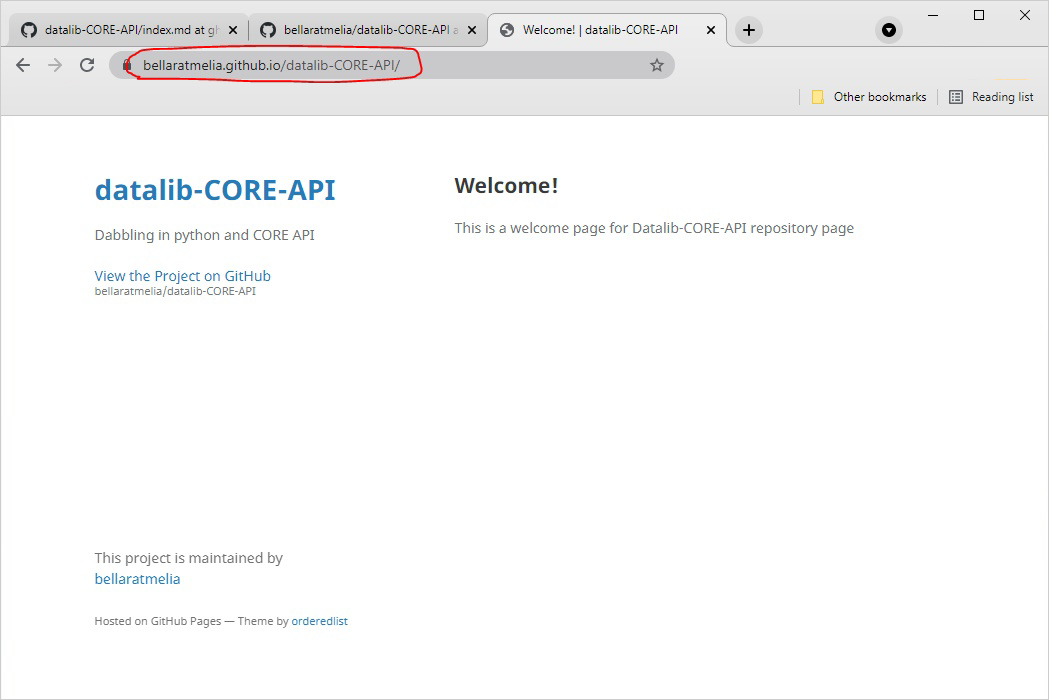
- Once finished, your project site will be located at yourname.github.io/repository-name. Example: bellaratmelia.github.io/datalib-core-api
More Examples
Check out more examples of how people are using GitHub Pages here:
- As a documentation site: https://docker.github.io
- As a way to create e-book: https://jaeyk.github.io/PS239T/
- Another e-book example: https://jwiegley.github.io/git-from-the-bottom-up/ (great way to showcase your expertise!)
- As a personal site with custom domain: https://thundergolfer.com/
Of course, since it is a free service, it comes with certain limitations. The size of your site is capped at 1GB, with a soft bandwidth limit of 100GB per month. GitHub Pages is not intended for commercial activities or services, so it is unable to host a database or payment gateway.
Your personal site will have the github.io URL format, but you can purchase a custom domain and map them to your GitHub pages if you prefer to do so. All in all, it is a good tool to promote yourself at a low cost. Plus, it is beginner friendly and easy to maintain.
As always, should you have any questions or comments about this article, feel free to reach out to us at library@smu.edu.sg.